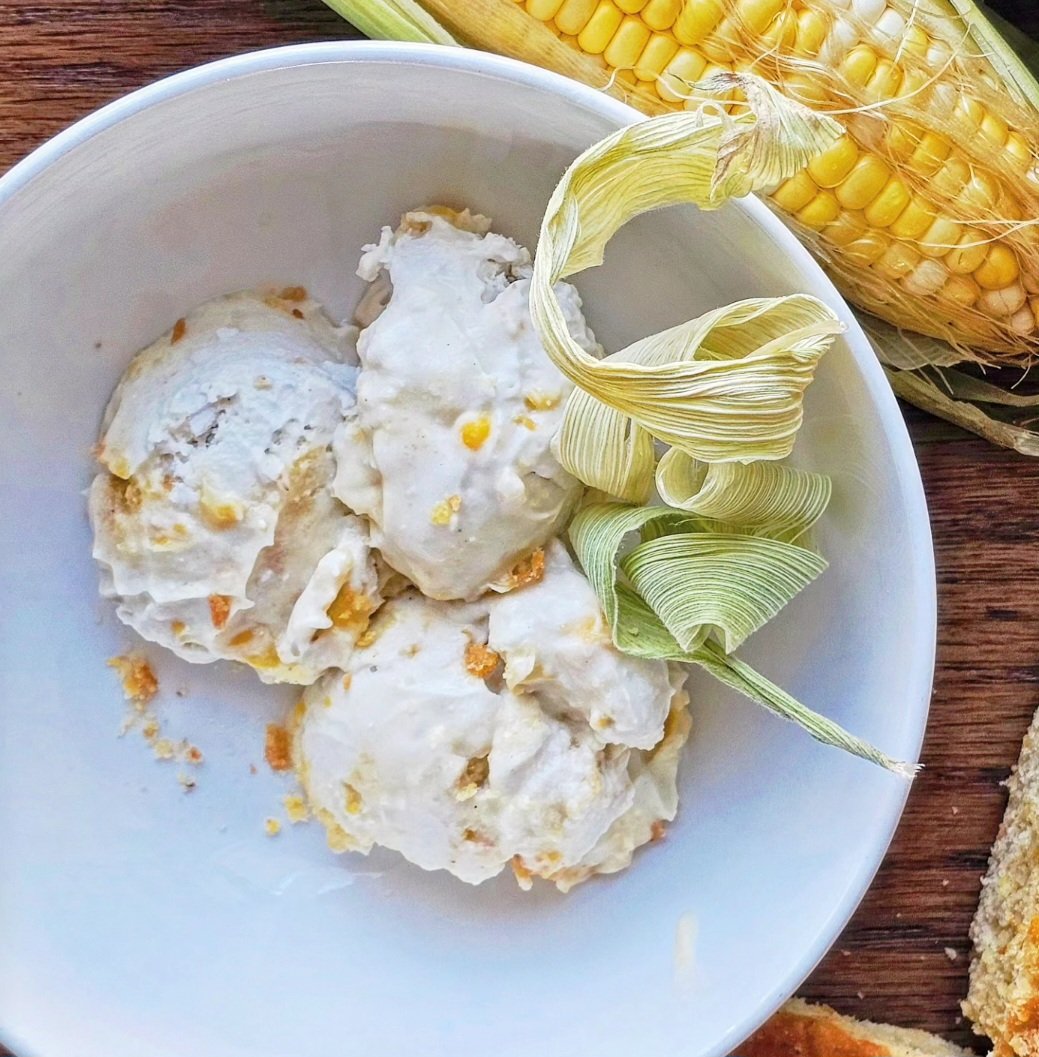
Creamy Coconut Cornbread Ice Cream (No Churn)
Who isn't down for eating ice cream regardless of the season? As Summer ends and makes way for the Fall, flavours change, and various fruits and vegetables will take the stage, from pumpkins and sweet potatoes to corn and apples, pears and figs. When people think about corn (or maize, or mealie cobs), ice cream probably doesn't come to mind--although some of the more experimental producers, companies like Van Leeuwen and Jeni's may have made that the case.
But what if you want to make some corn ice cream in your own at home? Better yet, still decadent, possibly dairy-free, and without an ice cream maker.
Be sure to explore the website for other sweet recipes, the no churn ice cream recipes listed below which you can use with dairy or alterative milk products to make.
Nature's Charm produces two main ingredients (linked below) you need for your ice cream base - whipped cream (to help add air to the mixture, especially since you won't be getting the smooth, light texture that typically comes from the churning motion of an ice cream maker) and condensed milk (which supplies the sugar and fat content). I am a fan of their quality, organic products and recommend trying them. They even make condensed oat milk! Even if you don't have specific dietary requirements and restrictions, check out some of my favourite gluten-free and vegan baking items here.
If you are in need of some quality loaf pans, for ice cream, bread, or whatever else, try these!
These Nordic Ware Aluminum Loaf Pans (Set of 2) , 1.5-pound pans can do it all—and then some with oven-safe aplomb. They’re made of pure cast aluminum reinforced with steel, so they’ll heat up in a flash and bake extra-evenly time after time. Even more: They’ve got galvanized steel rims to prevent warping, and they’ll never rust either.
Have you ever used coconut milk products as your base?
How to Make Non-Dairy No-Churn Ice Cream
This website has several recipes that do not require an ice cream maker. There is no need to purchase an overpriced machine; you have total control over what goes into your easy, homemade sweet treat.
As previously noted, an integral part of making ice cream is the churning process or adding air into the mixture, which you can achieve using a hand mixer (in addition to the whipped cream). There is also no need for eggs or to cook the main ingredients. You can substitute the coconut products with another alternative or dairy milk with this recipe. One thing to note is that using products with less fat or sugar could impact the creaminess factor and how hard the ice cream turns out. This is because fat doesn't freeze, and sugar helps keep ice cream softer in texture (by preventing some of the water from turning into ice, but it works both ways, so there's no need to overdo it!)
You can substitute the coconut products with another alternative or dairy milk with this recipe.
Why is My No Churn Ice Cream hard?
Yep, I had asked myself this question before and even tried homemade ice cream recipes a few times before getting it right, especially when switching to low-fat and reduced-sugar products. The main potential drawback or challenge with no-churn ice cream is the consistency and texture not meeting expectations. You will likely need to leave it out longer once it is frozen.
Be sure to do two things during the process:
Mix your ingredients well, but don't beat to the point of separating or depleting your whipped cream.
Make sure the container is airtight when you freeze the ice cream.
These are not the only factors; for example, cling wrap helps prevent water particles from crystalizing on top of the ice cream. You can add alcohol to the base mixture, which does not freeze, ensuring you whip your cream adequately. There are also natural additives known as 'stabilizers' like guar gum or thickeners like tapioca flour (used in gelato), and keeping all your ingredients and the freezer cold!

Creamy Coconut Cornbread Ice Cream (No Churn)
Ingredients
- 1 can (14-ounces) coconut condensed milk
- 1 can (15-ounces) coconut whipped cream
- 1 can (8.5-ounces) creamed corn
- 1 box gluten-free cornbread (I used Bob's Red Mill Mix)
- 1 tablespoon pure vanilla extract or paste
- 1 teaspoon lemon juice
- 1/2 teaspoon lemon zest
- 1/2 teaspoon salt
- Pinch of cinnamon
Instructions
- Follow the instructions for the cornbread premix: bake, cool and crumble the desired amount into pieces, set aside.
- Combine the condensed milk, creamed corn, and vanilla, whisking until well incorporated in a large bowl.
- Add the (chilled overnight) whipped coconut cream to another separate bowl and beat for about three minutes on high speed and/or until stiff peaks form. Watch for curdling or separation in the coconut mix; you will want to mix sparingly, or else the ice cream may have an undesirable texture.
- Using a large spoon or whisk, fold the whipped cream into the corn mixture, starting with two or three initial portions--this will help ensure you don't deflate the whipped air.
- Fold in the crumbled cornbread pieces, then pour the mixture into a loaf pan or ice cream container. You can also swirl in any extra creamed corn and condensed milk mixture.
- Cover with cling film, laying it directly on the ice cream's surface, then place in the freezer overnight or for at least four hours.
- When ready to serve, leave the ice cream at room temperature for about 10 minutes, then enjoy it in cups or cones!
I am not a certified nutritionist and any nutritional information on dontmissmyplate.com should only be used as a general guideline.

